 Loading... Please wait...
- Home
- Shop Products
-
Resources
- 3i compatible external hex abutment selection guide
- Bicon Compatible Abutment Selection Guide
- ZimVie TSX and TSV compatible abutment selection guide
- 3i certain compatible abutment selection guide
- Implant Locator Pin Guide
- Why Titan Implants
- The One Driver Advantage
- Signature Products
- Selection Guides
- Specialty Solutions
- FAQ
-
Educational Videos
- Company
- President's Statement
-
Contact Us
Shop Products
Implant Systems
Biomet 3i Compatible
Nobel Biocare Compatible
Zimmer Dental & ZimVie Compatible
ITI-Straumann Compatible
BioHorizons Compatible
Astra Tech Compatible
Bicon Compatible
Friadent Frialit and XiVE Compatible
STERI-OSS Compatible
Calcitek Compatible
Keystone (Lifecore) Dental Compatible
Core-Vent Compatible
Paragon Compatible
Centerpulse Compatible
IMZ Compatible
IMTEC Systems Compatible
BioLok Compatible
Innova-Corp Compatible
Impla-Med Sterngold Compatible
Osteo Implant Corporation Compatible
( ADI ) American Dental Implant Corp. Compatible
Swiss Implants, Inc. Compatible
The Spectra System Compatible
Shop by Component
Abutments & Attachments
- All abutments & attachments
- Straight Abutments
- Multi-Unit Abutments
- Multi-Unit Abutment Attachments (NB Interface)
- Conical Abutment Attachments
- Modifiable Preppable Abutments
- Titan Design Ex Hex Simple Step Abutments
- Temporary Abutments
- Titanium Bar Abutments for Laser Welding
- Overdenture Ball Abutments
- Non-Engaging Post Abutments One Piece
- Solid Abutments for Tissue Level Implants
Healing & Surgical
Impression & Lab Components
Accessories & Extras

3i compatible external hex abutment selection guide
Biomet 3i External Hex Compatible Abutment Selection Guide
A step-by-step guide to selecting the correct Titan compatible abutment for T3, Osseotite, Full Osseotite, Nanotite, and classic Biomet 3i external hex implants. All share the same prosthetic connection — the seating surface diameter is the only variable that determines which components you need. Covers seating surface identification, abutment type selection, emergence profile, and collar height.
Watch the terminology trap: “Osseotite” refers to the implant’s surface, found on BOTH the 3i external hex and the 3i Certain internal connection. A “3i Osseotite” implant is external hex; an “Osseotite Certain” is internal — components are NOT interchangeable between the two connections. If your implant is a Certain internal hex, use the 3i Certain guide instead. Confirm your connection before ordering — this is the most common 3i ordering error.
STEP 1: IDENTIFY YOUR SEATING SURFACE
The 3i external hex system uses four seating surface diameters. The seating surface is determined by the implant body diameter — check the surgical record or implant packaging.
Colour is our catalog shorthand, not an implant marking. Physical colour coding of the prosthetic table is a Certain feature. External hex fixtures are identified by seating surface in millimetres — read the surgical record, not a colour.
| Seating Surface | Implant Body Ø | Implant Lines |
|---|---|---|
| 3.4mm | 3.25mm | T3, Osseotite, Full Osseotite, Nanotite, Osseotite NT (Narrow Thread) |
| 4.1mm | 4.0mm, 4.0/3.0mm (platform-switched 4/3) | T3, Osseotite, Full Osseotite, Nanotite |
| 5.0mm | 5.0mm, 5.0/4.0mm (platform-switched 5/4) | T3, Osseotite, Full Osseotite, Nanotite |
| 6.0mm | 6.0mm, 6.0/5.0mm (platform-switched 6/5) | T3, Osseotite, Full Osseotite |
Platform-switched implants (4/3, 5/4, 6/5): The second number is the seating surface. A “5/4” implant has a 5.0mm body but a 4.0mm seating surface — use 4.1mm platform components, not 5.0mm.
Step 2: Choose Your Abutment Type
Titan manufactures multiple abutment types for the 3i external hex. Your choice depends on the restoration type and clinical situation:
- Straight Locking Abutment (SLIAF): The most common choice for cement-retained single-unit crowns. External hex engages the implant for anti-rotation. Multiple collar heights and emergence profiles available.
- Simple Step Abutment (Titan Design): A one-piece screw-retained abutment that can be prepared chairside or in the lab. Available for 4.1mm and 5.0mm platforms.
- Post Abutment: Non-engaging abutment for multi-unit or splinted restorations where anti-rotation is provided by the framework rather than the individual abutment. (See the engaging vs. non-engaging guide.)
- Castable / UCLA Plastic Sleeve: Burnout-compatible for custom cast frameworks. Available in hex (engaging) and non-hex (non-engaging) configurations.
- Temporary Abutment: For provisional restorations during healing. Textured surface for acrylic retention.
- Ball Head Abutment: For overdenture retention using O-ring housings.
Every type above is stocked across the 3.4, 4.1, 5.0 and 6.0mm seating surfaces. See the full range with photographs below →
Step 3: Select Emergence Profile & Collar Height
For straight locking abutments and similar restorative abutments:
- Emergence profile diameter: Match to the cervical diameter of the tooth being replaced. Narrower for anteriors, wider for posteriors. The abutment should support the papillae without encroaching on them.
- Collar height: Measure tissue depth from the implant platform to the gingival crest. Select a collar height that places the abutment shoulder at or just below the gingival margin. Too short = cement trap. Too tall = visible metal.
Full measurement method in our abutment sizing guide.
Titan offers more collar height increments and profile diameter options than the OEM catalog for the 3i external hex, allowing finer adjustment without custom fabrication.
Step 4: Engaging vs. Non-Engaging
The 3i external hex connection offers both engaging and non-engaging component options:
- Engaging (hex): The component’s internal hex indexes onto the implant’s external hex, locking rotational position. Use for single-unit restorations where anti-rotation is critical.
- Non-engaging (non-hex): The component does not index onto the hex, allowing rotational seating freedom. Use for multi-unit or splinted frameworks where divergent implant angles make simultaneous hex engagement impossible.
Rule of thumb: Single-unit = engaging. Multi-unit/splinted = non-engaging for the framework, engaging for the individual impression copings during the impression phase.
The Titan External Hex Range
Every component below is machined at our facility in Bergenfield, New Jersey from Grade 23 ELI titanium (Ti-6Al-4V ELI, ASTM F136) and is FDA-cleared.
The Simple Step Abutment — a Titan design
The Simple Step is our own design, not a copy of an OEM part. It is a one-piece, screw-retained abutment with a stepped body: it seats and torques like a stock abutment, but the steps give defined reference planes to reduce to, rather than a smooth cone that has to be shaped freehand. Available for the external hex 4.1mm and 5.0mm platforms.
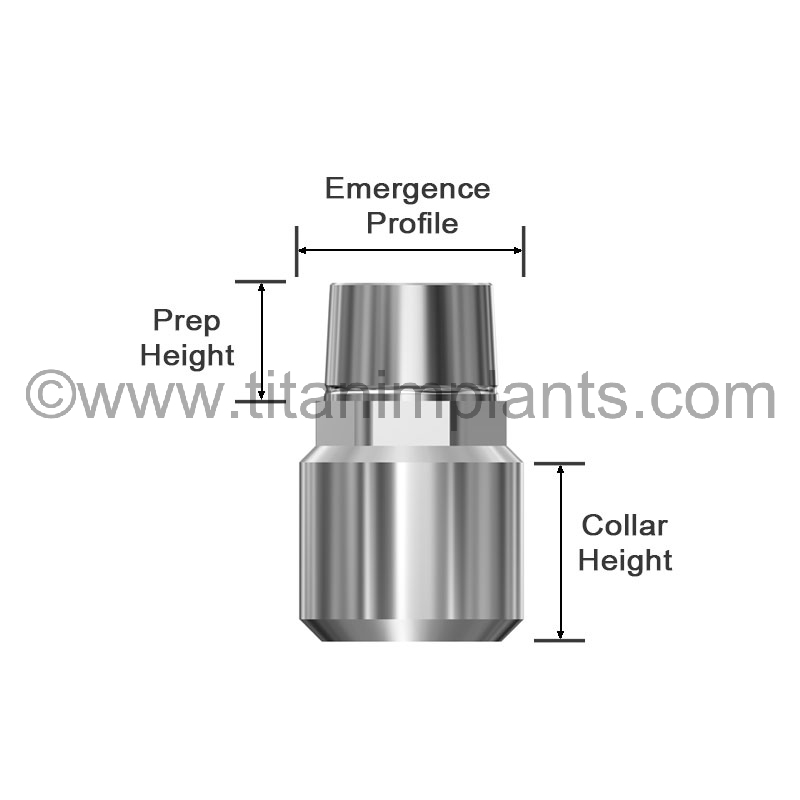 Simple Step Abutment, stepped body
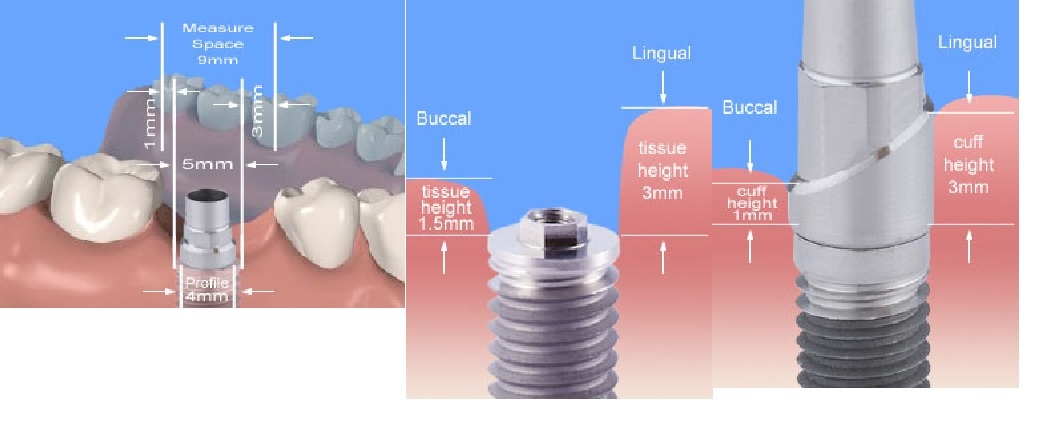 Three emergence profile levels × collar height range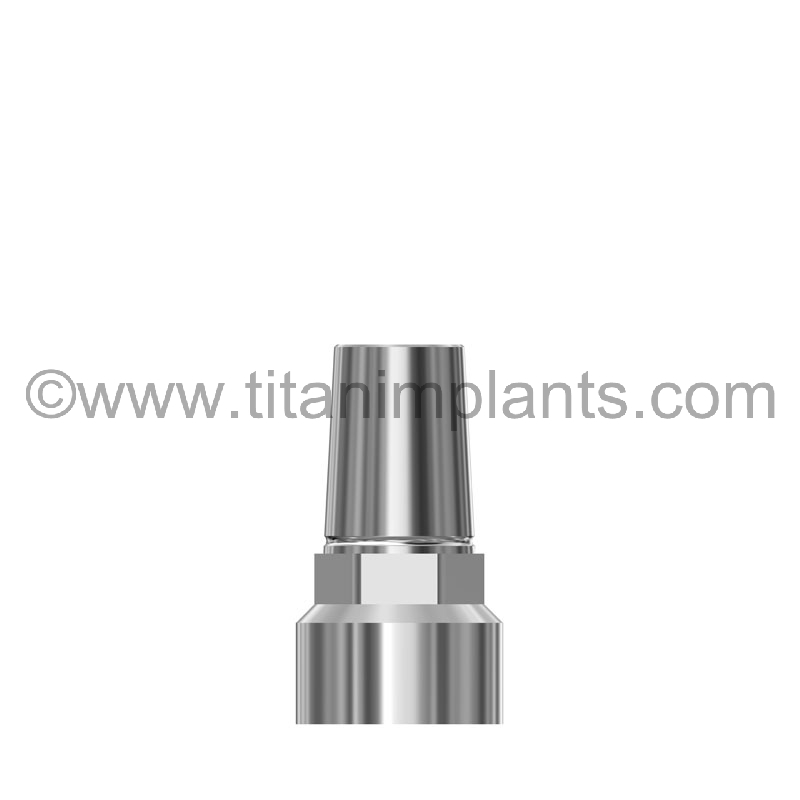
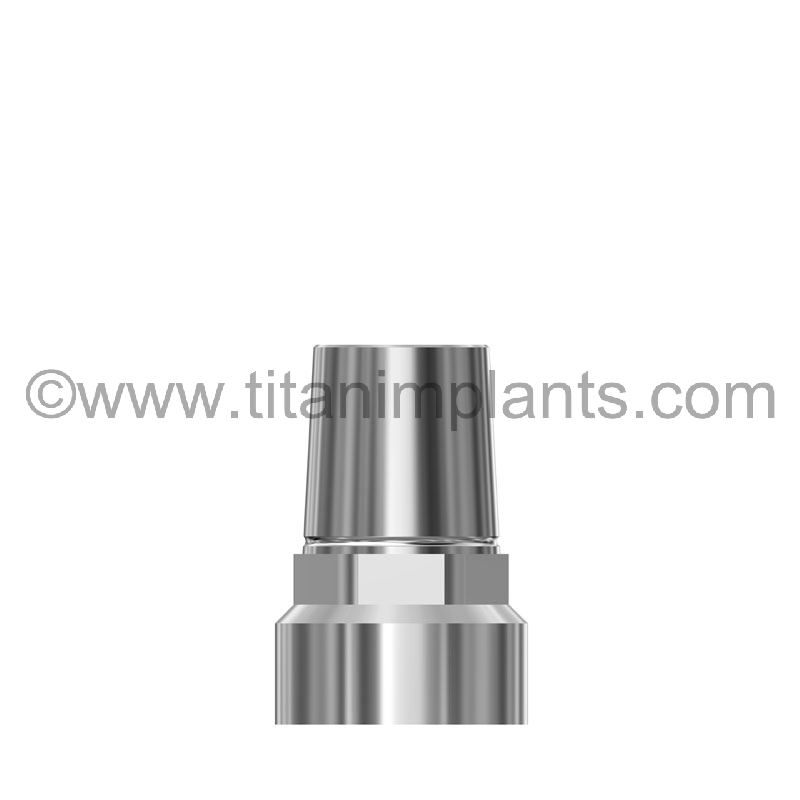
What “prep height” means
Prep height is the vertical height of abutment left standing after preparation — the part the crown actually seats on. It is not the collar height, and it is not the total length of the component.
It is governed by the space available in occlusion. Measure from the gingival crest at the implant site to the opposing tooth with the patient closed, then subtract 3mm: roughly 1.5mm for the restorative material and 1.5mm of clearance. What remains is the height you prepare to.
Prep height: what goes wrong at the extremes
The two failure modes pull in opposite directions. Prepare too tall and the crown cannot seat in occlusion, or the ceramic ends up too thin and fractures. Prepare too short and there is not enough axial wall to retain a cemented crown, and it comes off repeatedly.
Selecting prep height, in order
Where the stepped body earns its keep. On a smooth-coned abutment, hitting a target prep height means measuring, cutting, re-measuring and cutting again — and two technicians rarely land in the same place. The Simple Step gives defined planes: identify the height you need, reduce to that step, stop.
It also makes the decision reversible in the lab rather than in the mouth. A tissue-model impression taken with a transfer coping lets the technician choose the step against the actual soft-tissue form.
What an emergence profile diameter is
The emergence profile diameter is the width of the abutment where it exits the soft tissue — the flared shoulder. It is not the platform, and it is not the prepared height.
It exists to solve a geometry problem. An implant platform is a circle, 3.4 to 6.0mm. The tooth being replaced is not a circle, and at the cervical margin it is usually much wider — a first molar can run 9 to 11mm mesio-distally. Something has to bridge round-and-narrow to tooth-shaped-and-wide. That transition is the emergence profile: the form the soft tissue heals around and the crown rises out of.
Emergence profile: what goes wrong at the extremes
Three levels on every platform
Selecting emergence profile, in order
Why this matters when you are choosing a supplier. Emergence profile is independent of platform, so a complete range means three levels on each seating surface, at every collar height. Stock one profile per platform and every case that does not match it becomes a compromise — or a custom mill. Titan carries the grid.
Selecting collar height from tissue depth
Where buccal and lingual tissue depths differ and you want the margin to follow the gingival contour, modify the collar rather than accepting a flat margin.
Tip. The best results come from a tissue-model impression taken with a transfer coping. The lab can then select and modify the abutment against the actual soft-tissue form rather than a measurement taken in the mouth.
Supplied with titanium screw.
Straight Locking Implant Abutments — all four platforms
The workhorse for cement-retained single units. The internal hex indexes on the implant’s external hex for anti-rotation, and Titan stocks more collar height and emergence profile increments than the OEM range — so the abutment is matched to the tissue rather than the tissue accommodated to the abutment.
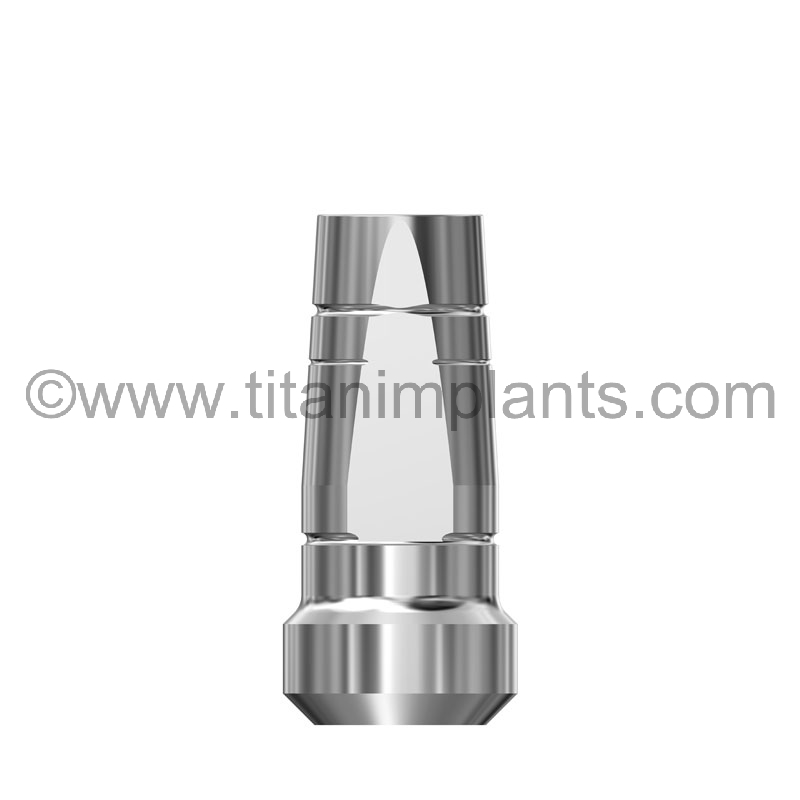 Straight Locking Abutment3.4mm · T-3.4SLIAF-02
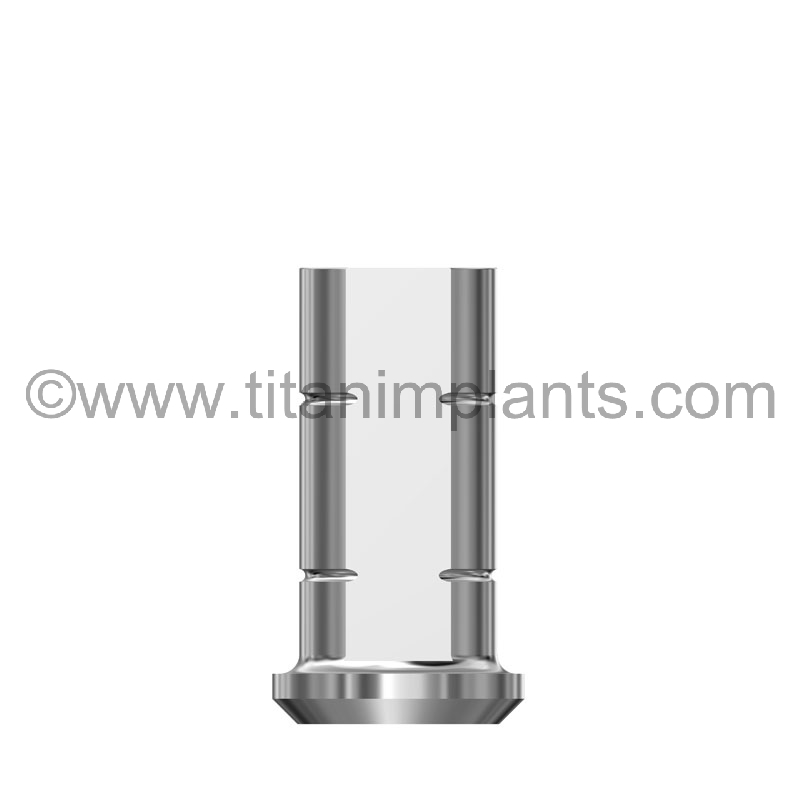 Straight Locking Abutment4.1mm · T-4SLIAF
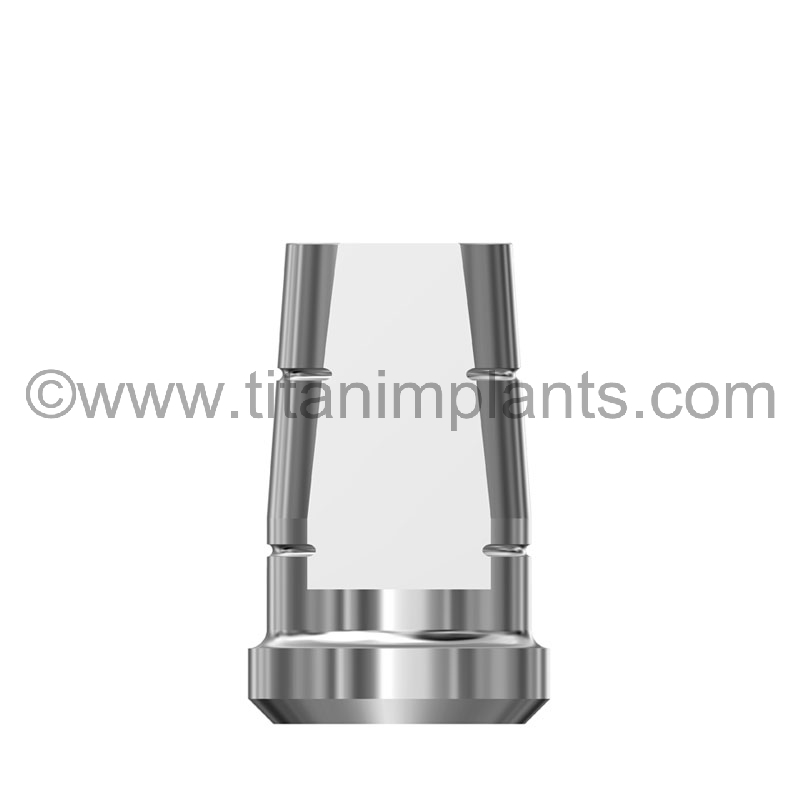 Straight Locking Abutment5.0mm · T-5SLIAF-02
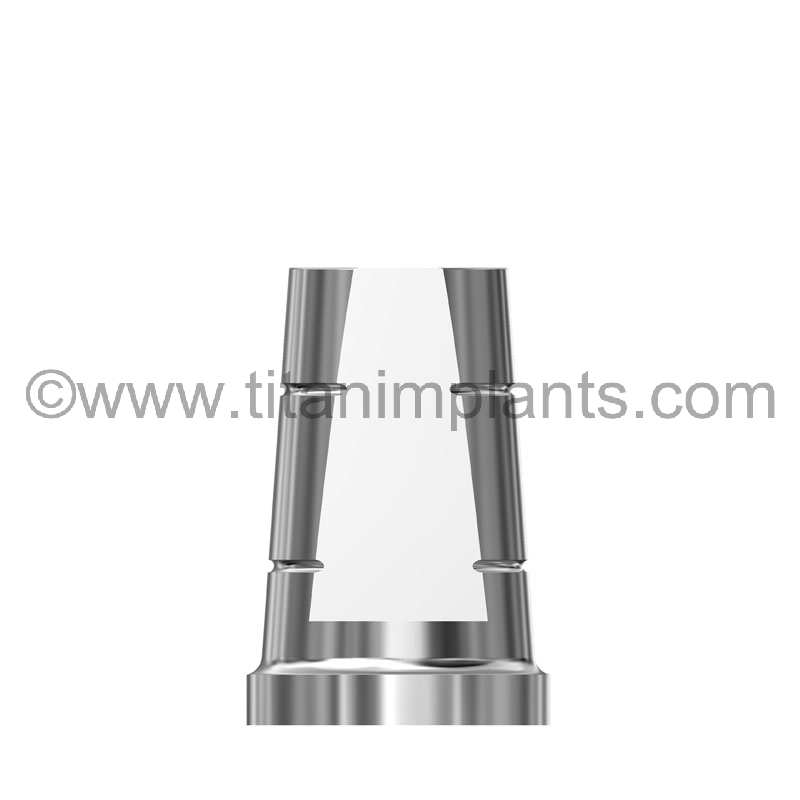 Straight Locking Abutment6.0mm · T-6SLIAF-01
Multi-Unit and Transmucosal Abutments
For screw-retained bridges and full-arch work, where the restoration is carried by the framework rather than by each individual abutment.
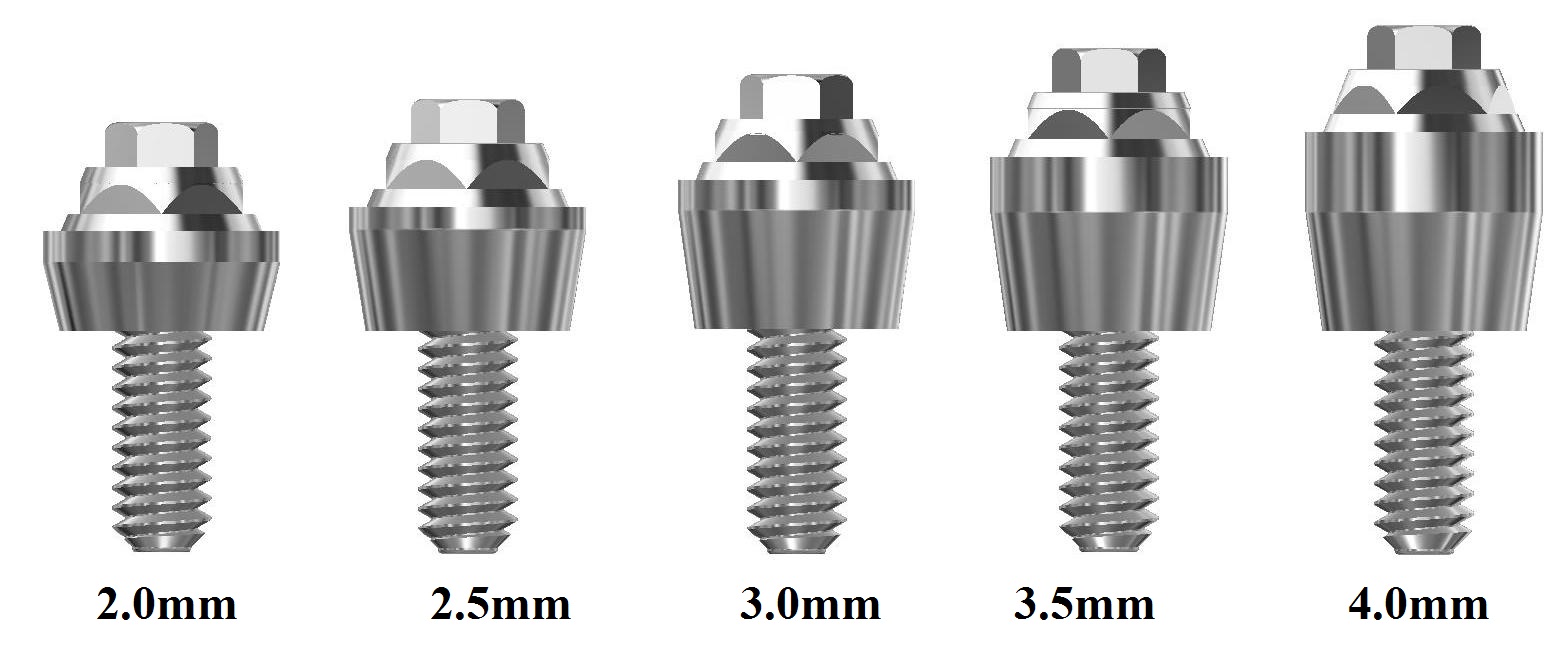 Multi-Unit Abutment, engaging4.1mm · NB-MCAS-T
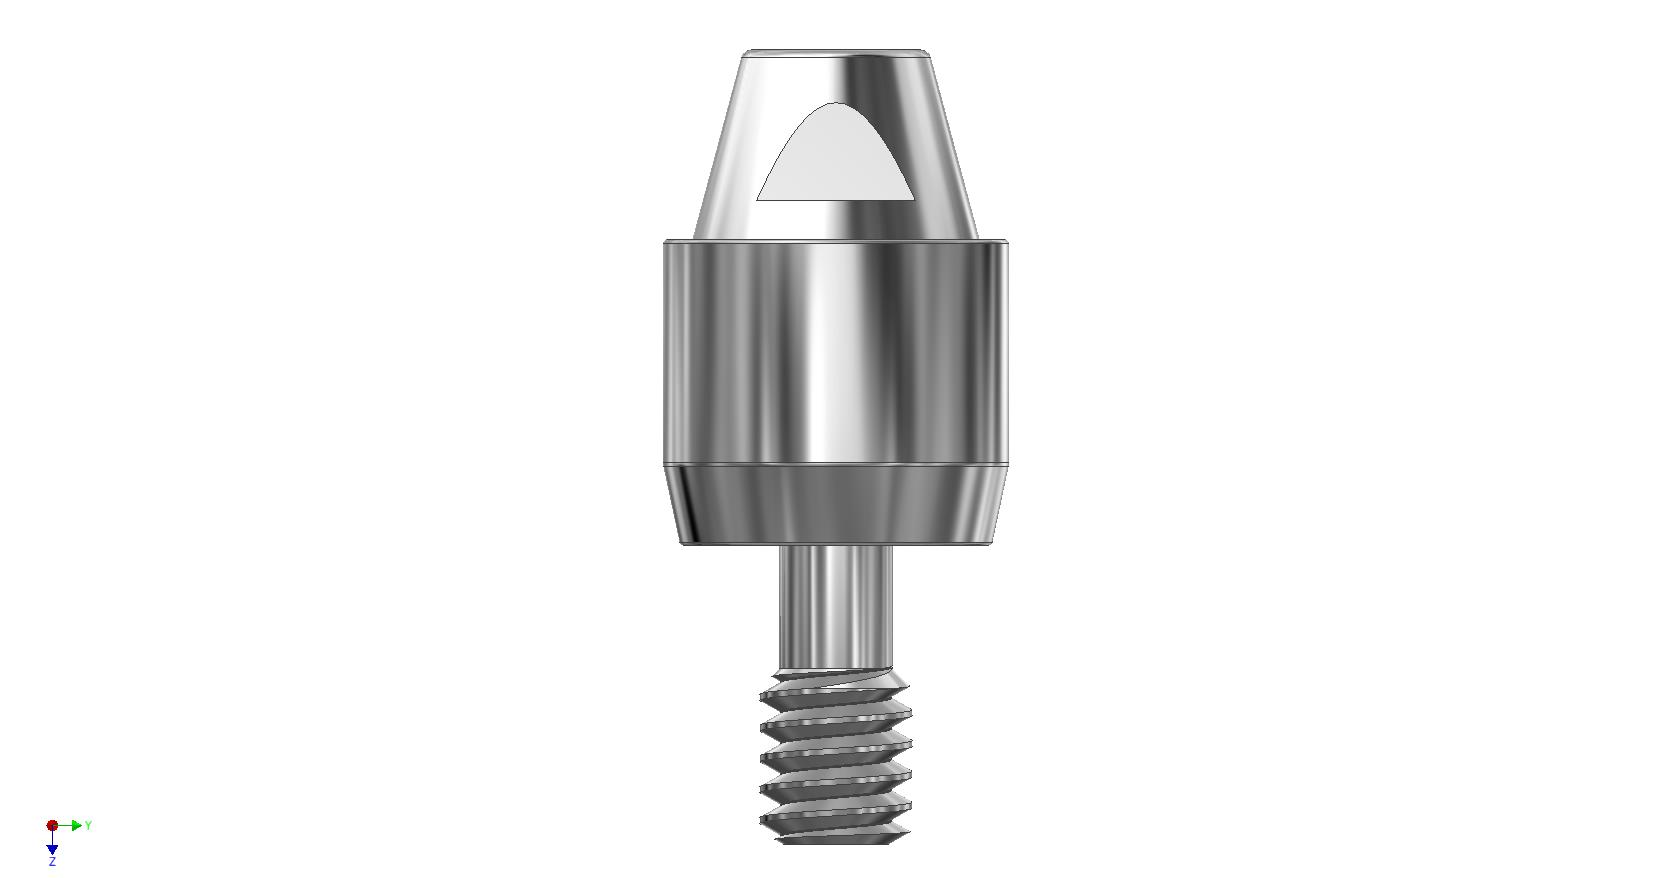 Tapered Multi-Unit, non-engaging4.1mm · BM-4MUA-CM-T
 Transmucosal Standard Abutment4.1mm · BM-4TSA-T
The Conical Abutment System — complete, not partial
This is where a compatible supplier usually falls short: the abutment exists, but the analog, coping or sleeve does not, and the lab is left mixing brands mid-case. Titan carries the whole conical chain for the 4.1/5.0mm and 6.0mm platforms.
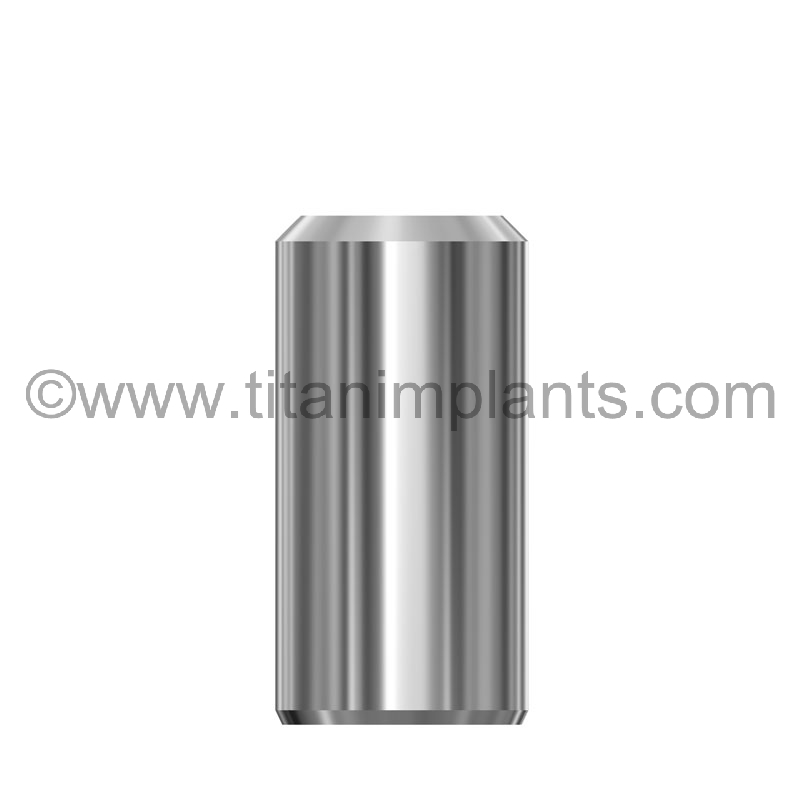 Conical Bar Post4.1 / 5.0mm · T-4CCA-12
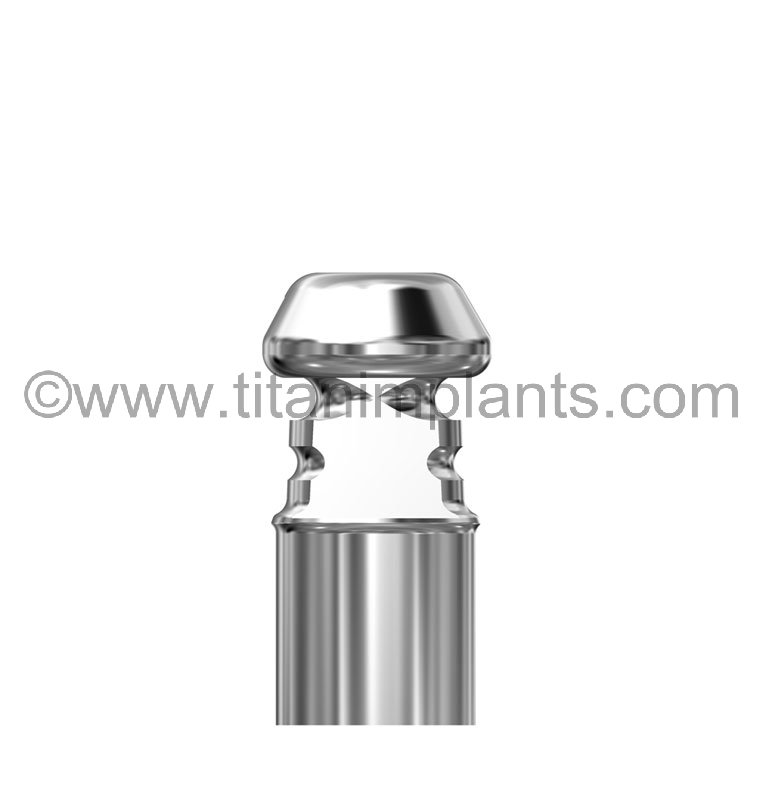 Conical Impression Coping4.1 / 5.0mm · LC-4CAIC-T
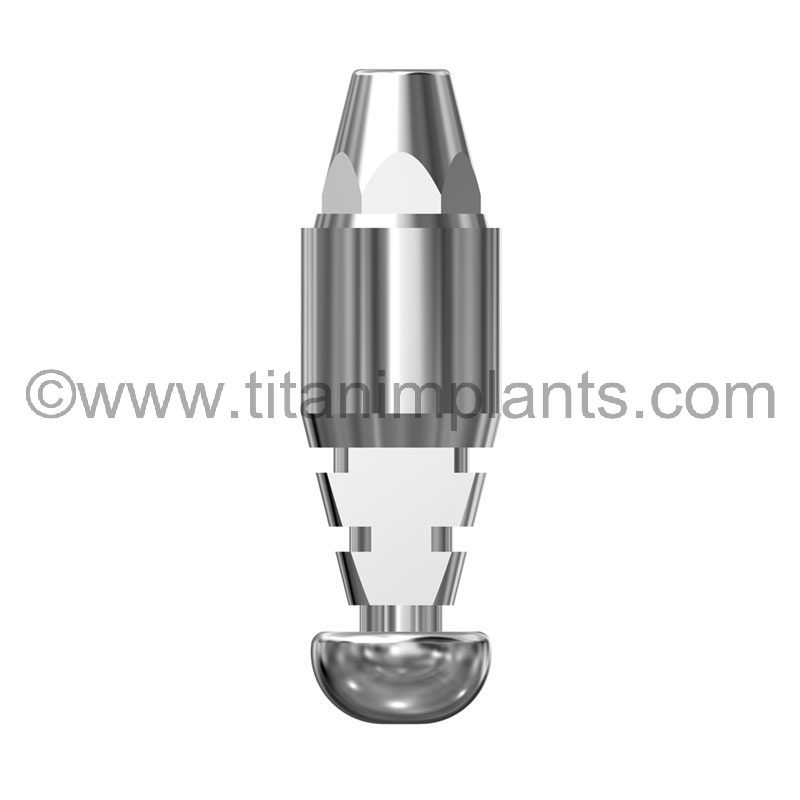 Conical Lab Analog4.1 / 5.0mm · LC-4CAA-T
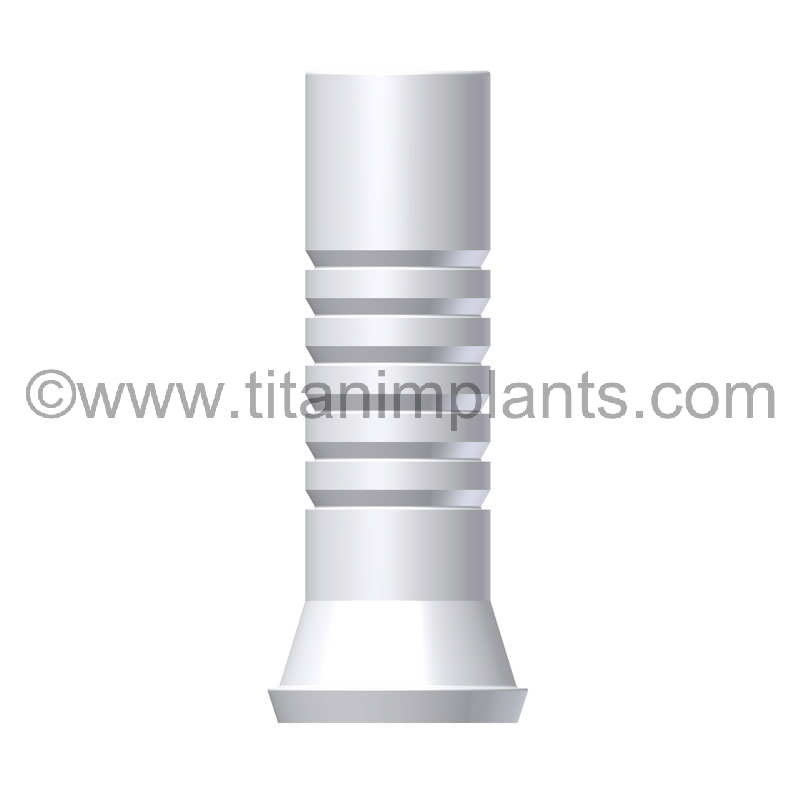 Conical UCLA Sleeve4.1 / 5.0mm · LC-4CPS-T
Bar post for laser-welded frameworks, impression coping with long screw for open-tray, stainless lab analog, and a burnout UCLA sleeve for custom casting. One supplier, one tolerance standard, across the entire case.
Post Abutments — restorative vs bite registration
Both are one-piece, non-engaging posts for the 4.1mm platform, and they look similar on the shelf. They do different jobs, and ordering the wrong one costs an appointment.
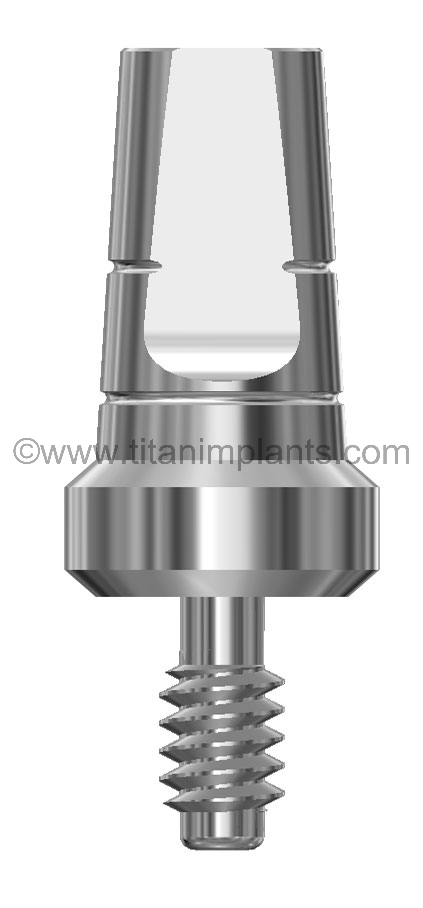
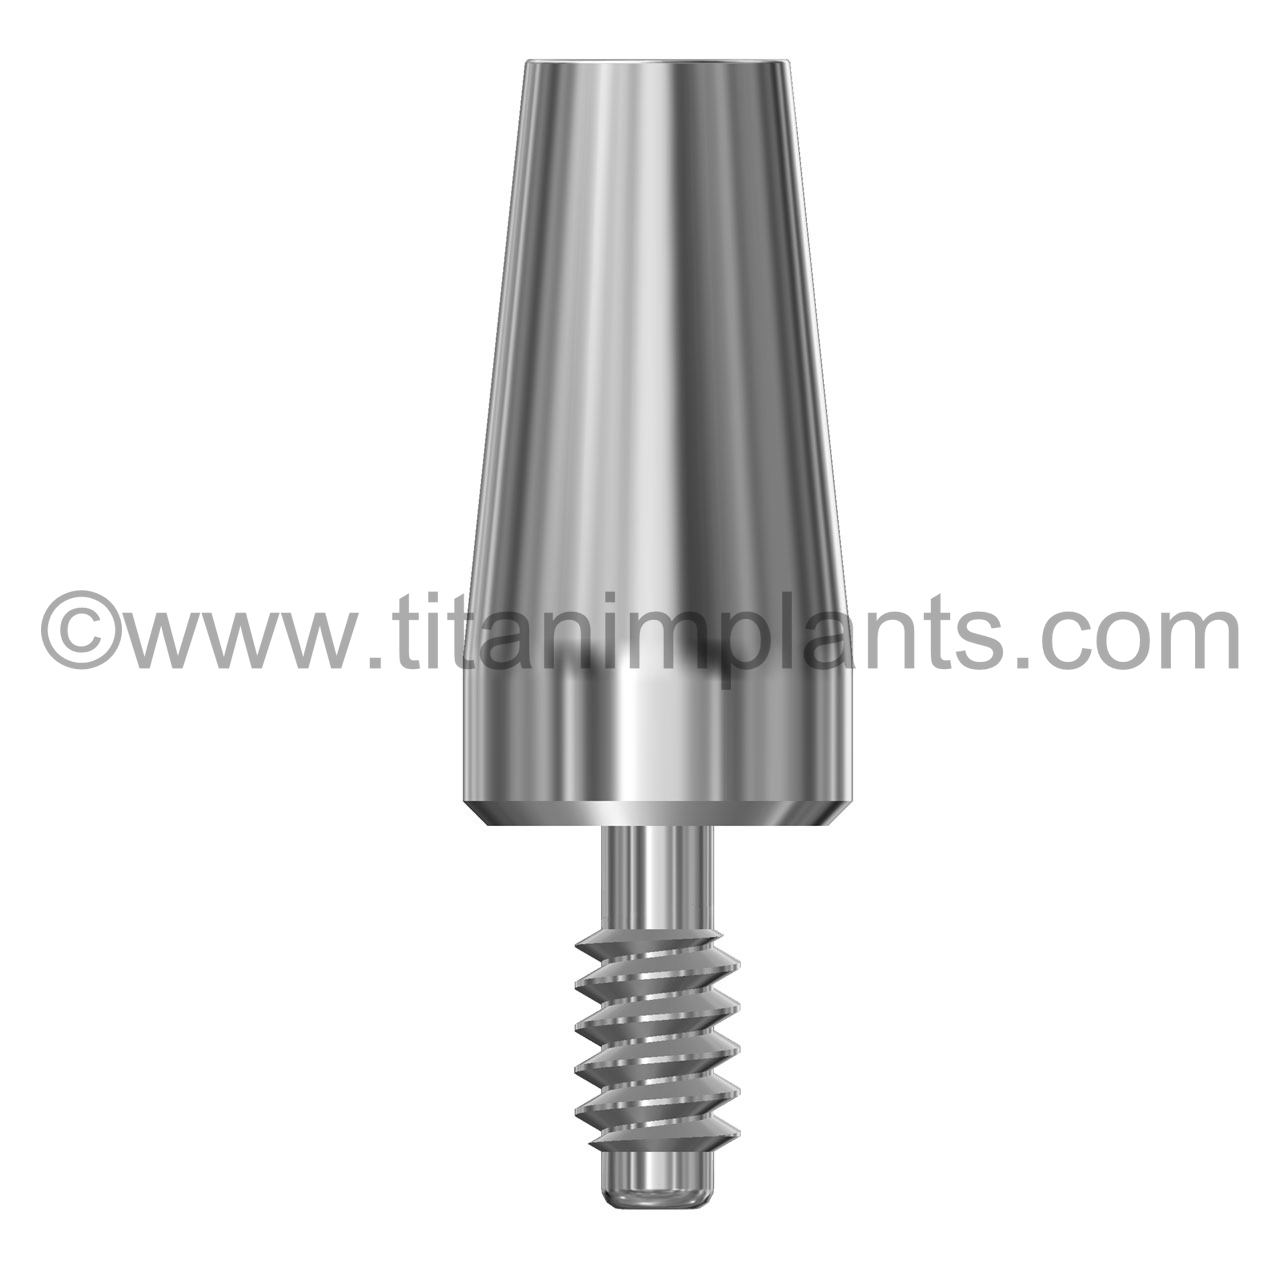
T-4PA — the restorative post
For multiple-unit restorations and provisional temporaries. It can also take an impression directly, without a separate impression post, analog and the rest of the transfer chain — useful when the case does not warrant a full impression protocol.
Two things to know before you use it.
There is no thread timing and no anti-rotation feature, so the work is done intraorally rather than indexed on a model.
Check occlusal height on the model first, and create a flat wall so the index is known.
T-4PABR — the bite registration post
A dedicated registration component, sometimes called a bite verification cylinder. Its job is to create a rigid vertical reference at implant level so the patient’s bite transfers accurately to the articulator — then it comes back out. It is not what the restoration is built on.
Most valuable on multi-unit bridges and full-arch cases, where a soft or flexing registration compounds across the span and the framework does not seat. Using a post designed for the job removes a source of error and shortens the appointment.
Which one
| If you are… | Use |
|---|---|
| Building a provisional or multi-unit restoration | T-4PA |
| Taking an impression without the full transfer chain | T-4PA |
| Recording the bite for articulator mounting | T-4PABR |
| Verifying vertical dimension across a full arch | T-4PABR |
Bar Posts and Laser-Welded Frameworks
Bar posts seat on each implant and are then laser-welded to a bar, forming one rigid splinted framework. Because the posts are non-engaging, divergent implants can seat simultaneously — the bar supplies the anti-rotation the individual posts do not.
They are ordered per implant rather than per case, and they are consumed into the framework. Titan stocks them for each seating surface, for the conical and standard abutment platforms, and as the dedicated T-IOL post for immediate occlusal loading — a purpose-made post for cases where a provisional framework is welded and placed in the same visit, rather than adapting a standard component.
Immediate loading protocols depend on primary stability and case selection. The component supports the technique; the clinical decision remains the clinician’s.
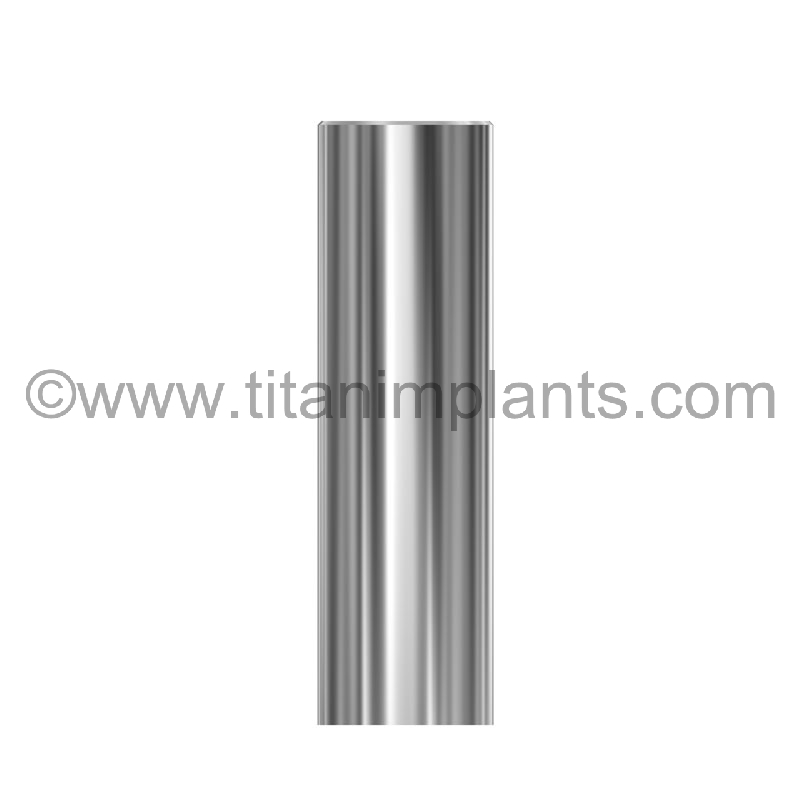 Bar Post, laser-weld3.4mm · T-34CA-12
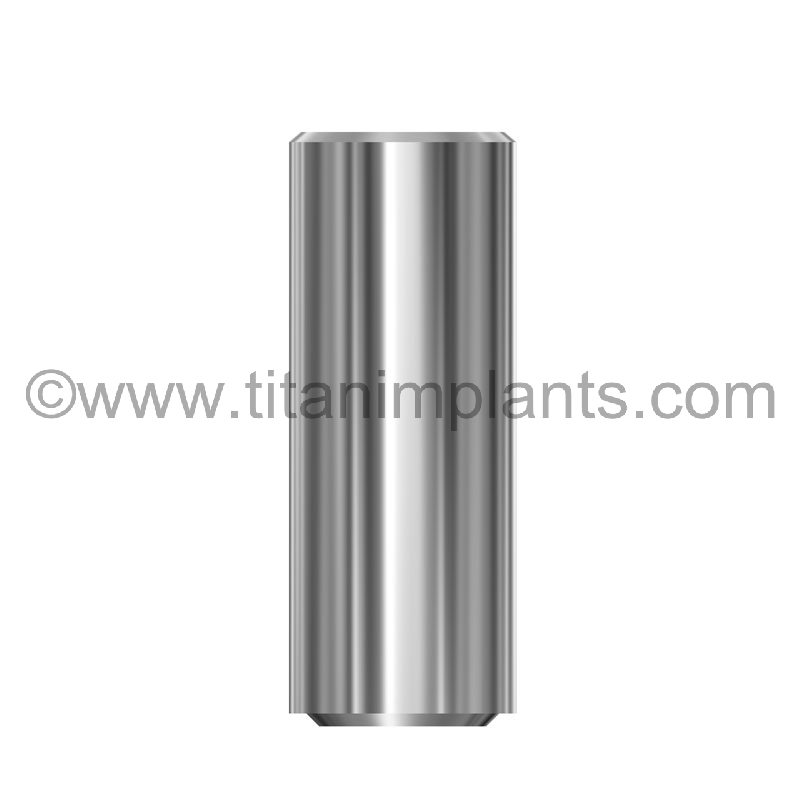 Standard Abutment Bar Post4.1mm · T-4SABP
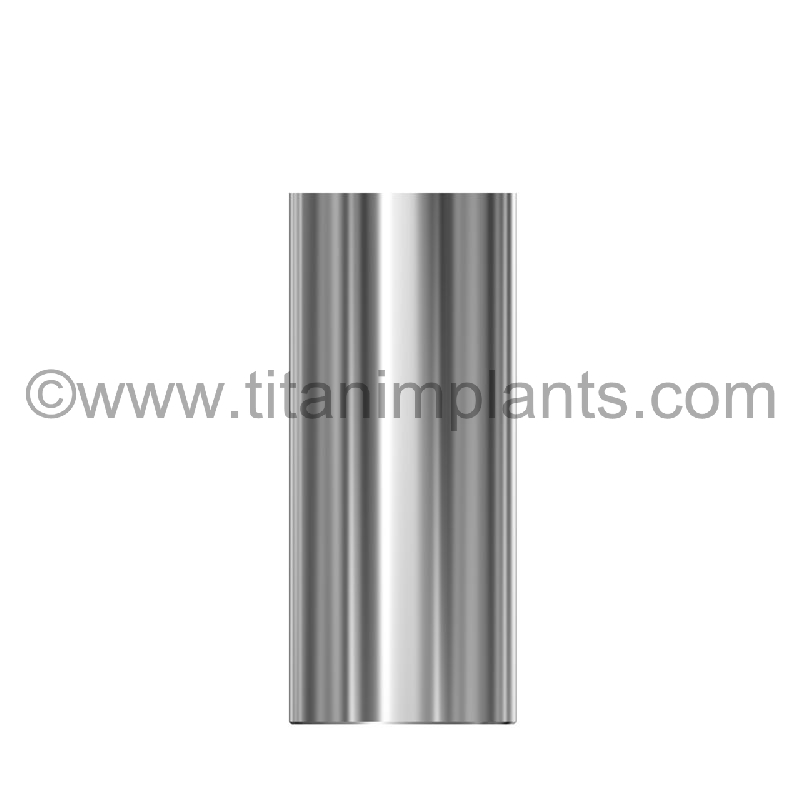 Immediate Load Bar Post4.1mm · T-IOL
Overdenture Ball Head System — 3.4, 4.1 and 5.0mm
A complete overdenture attachment system rather than an abutment alone. Ball head abutments are stocked for the 3.4, 4.1 and 5.0mm seating surfaces, each supplied with metal housing and two O-rings — and the keeper, replacement O-rings, seating wrench and lab analog are all stocked too, so a reline or a retention change does not become a sourcing exercise.
A ball attachment is a stack, not a single part, and the retention does not live in the abutment. Understanding the stack is what makes the difference between ordering one component and ordering the case.
The ball abutment torques into the implant. The metal housing is cured into the denture base. Between them sits the rubber O-ring, which provides the retention and is the part that wears — which is why replacement O-rings, the keeper and the seating wrench are stocked alongside the abutment.
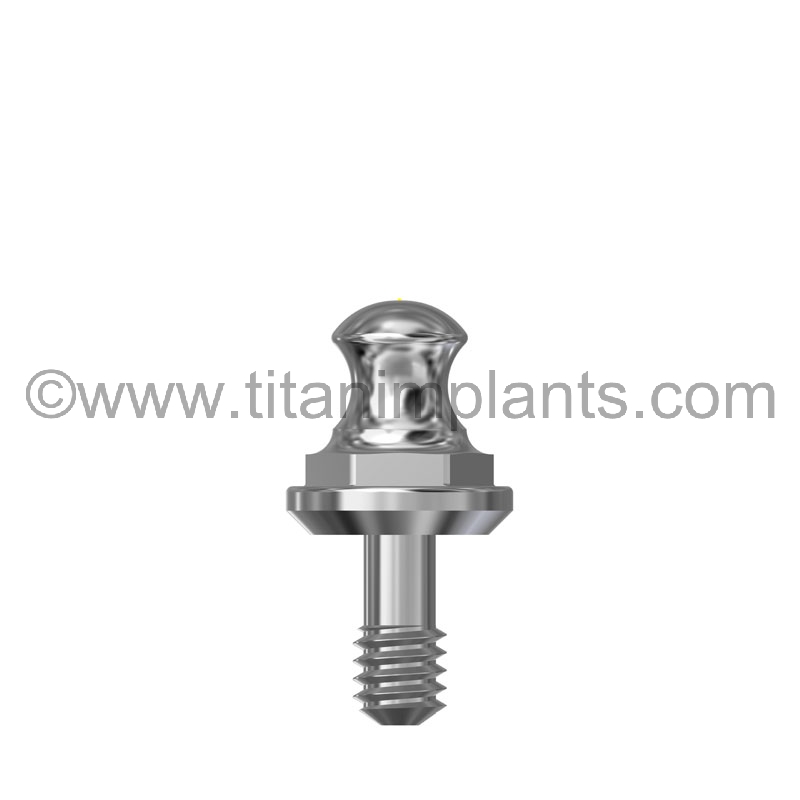 Ball Head Abutment3.4mm · T-5-3EBHA
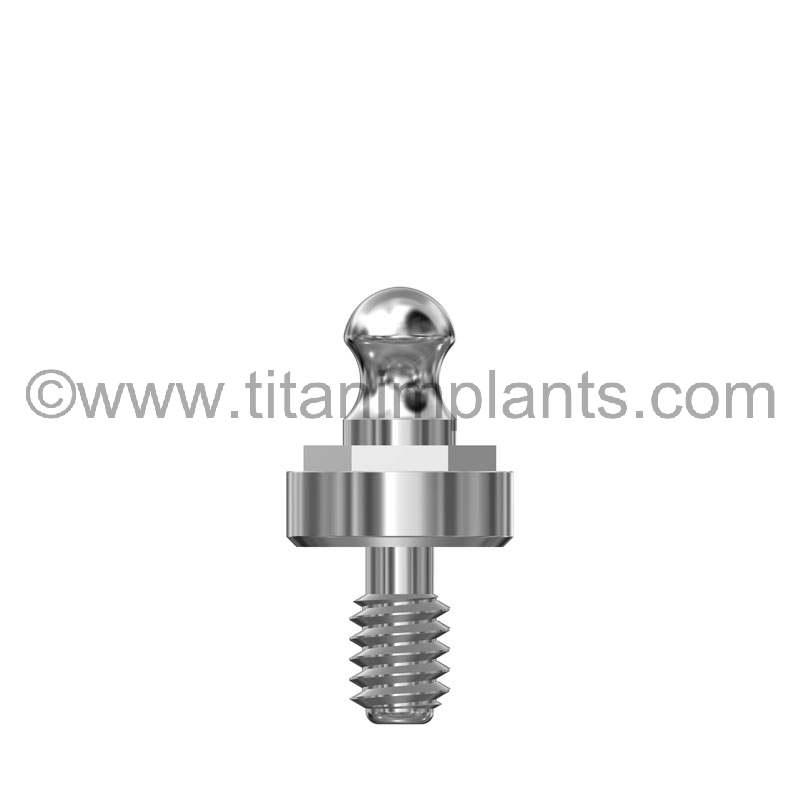 Ball Head Abutment4.1mm · T-4BHA
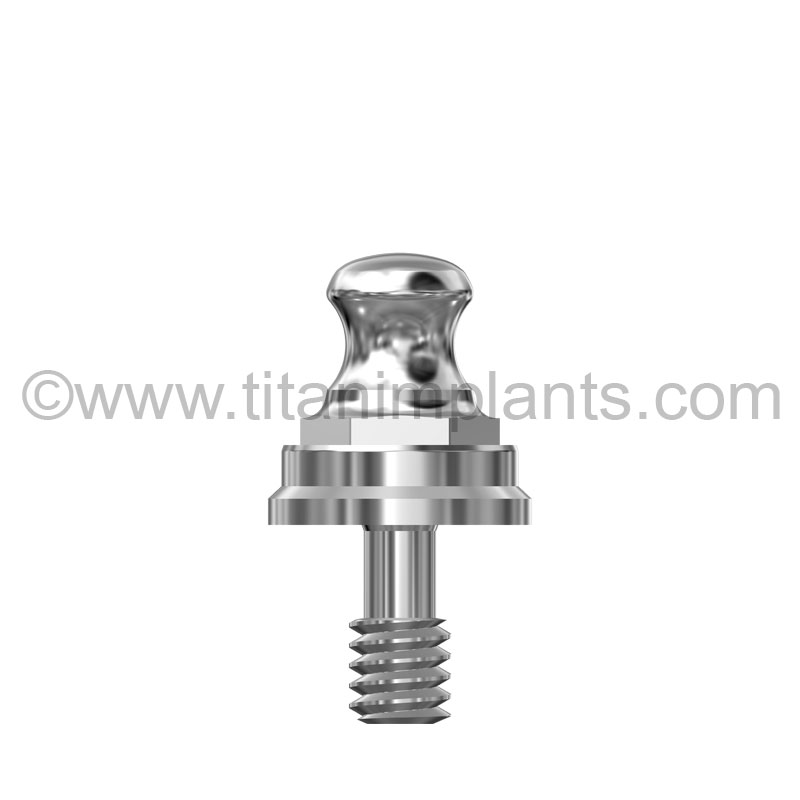 Ball Head Abutment5.0mm · IE-5EBHA-T
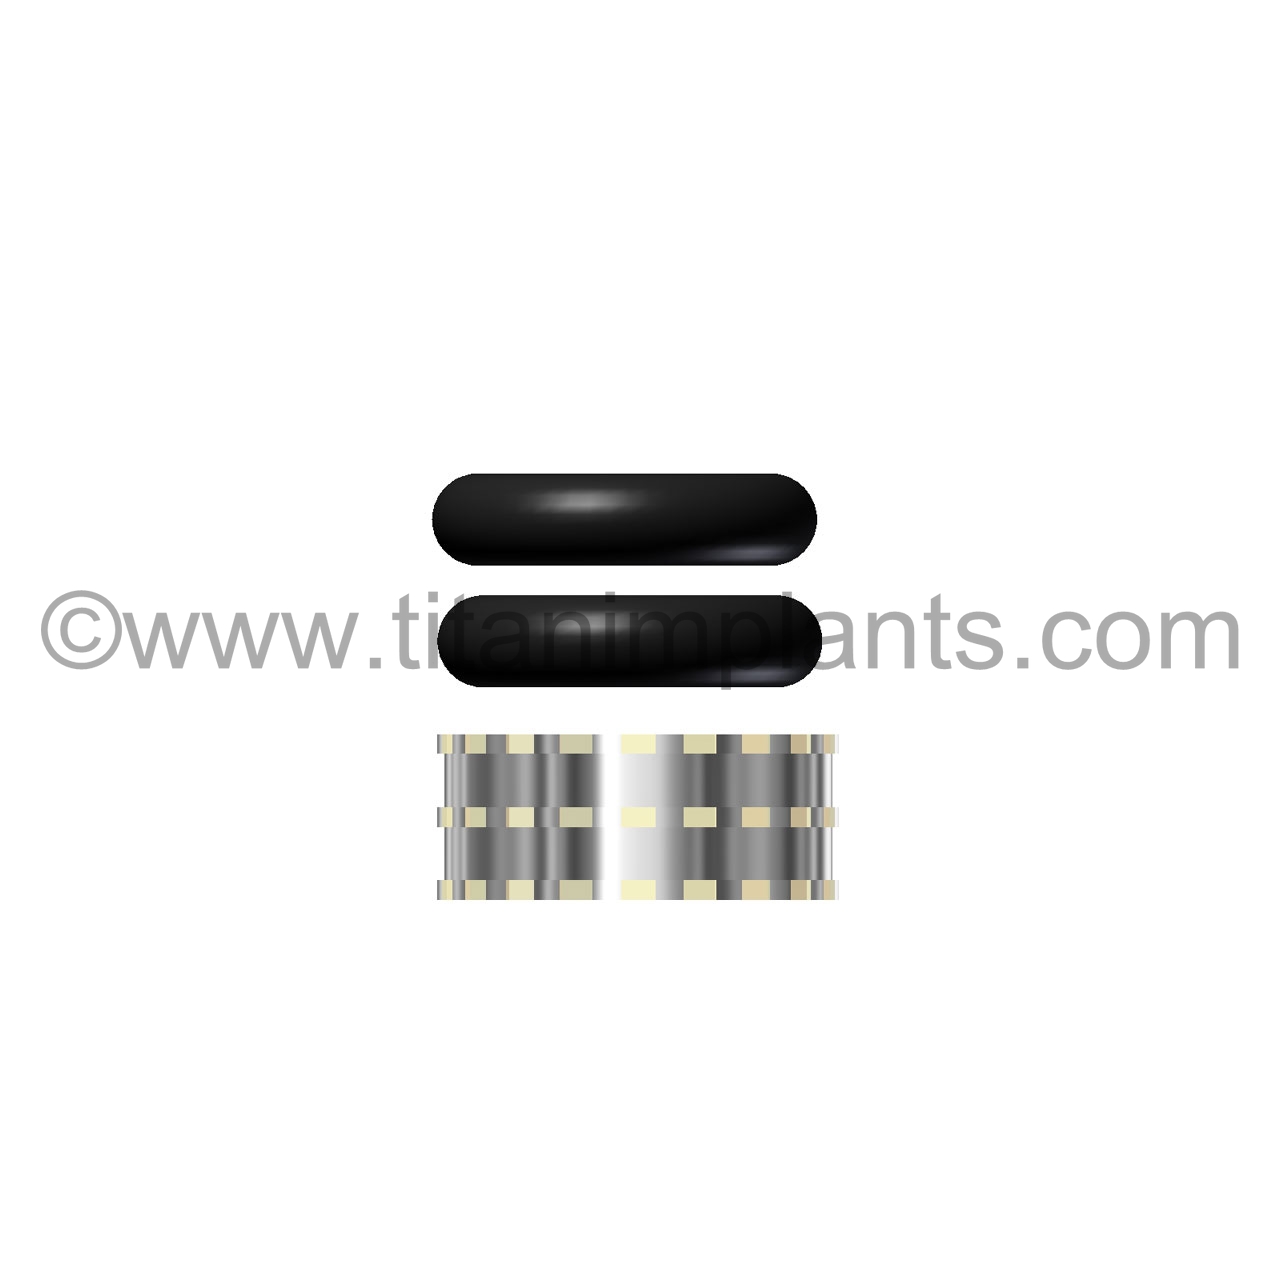 Keeper & Two O-RingsAll · TN-4BHK
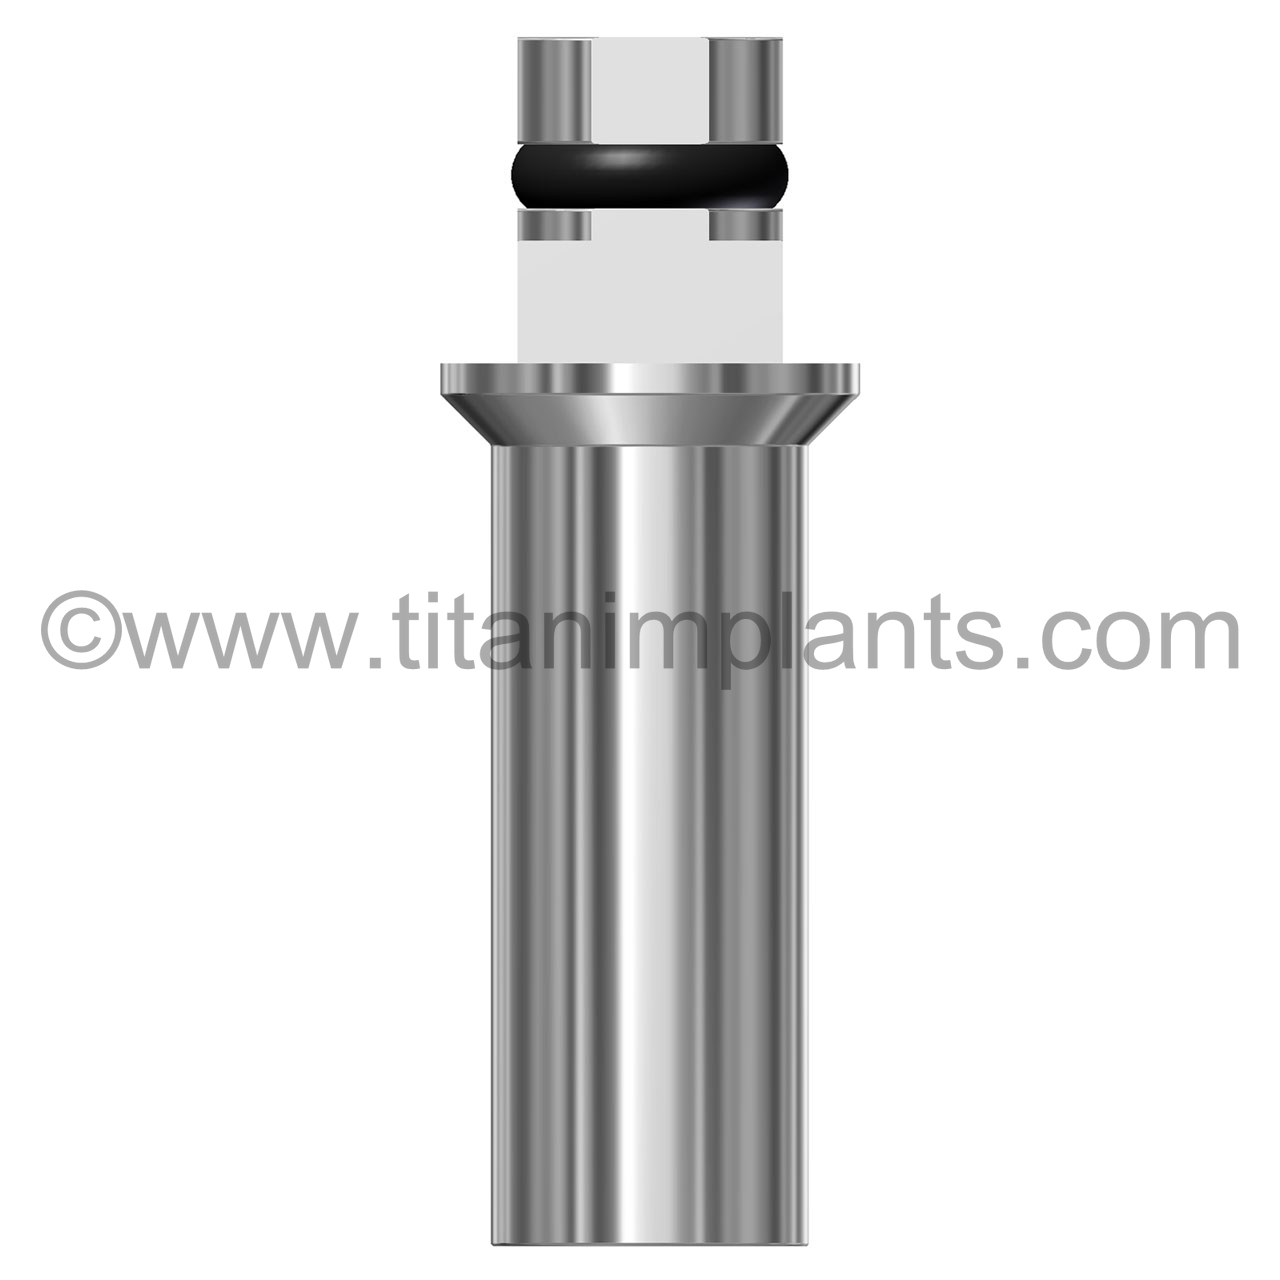
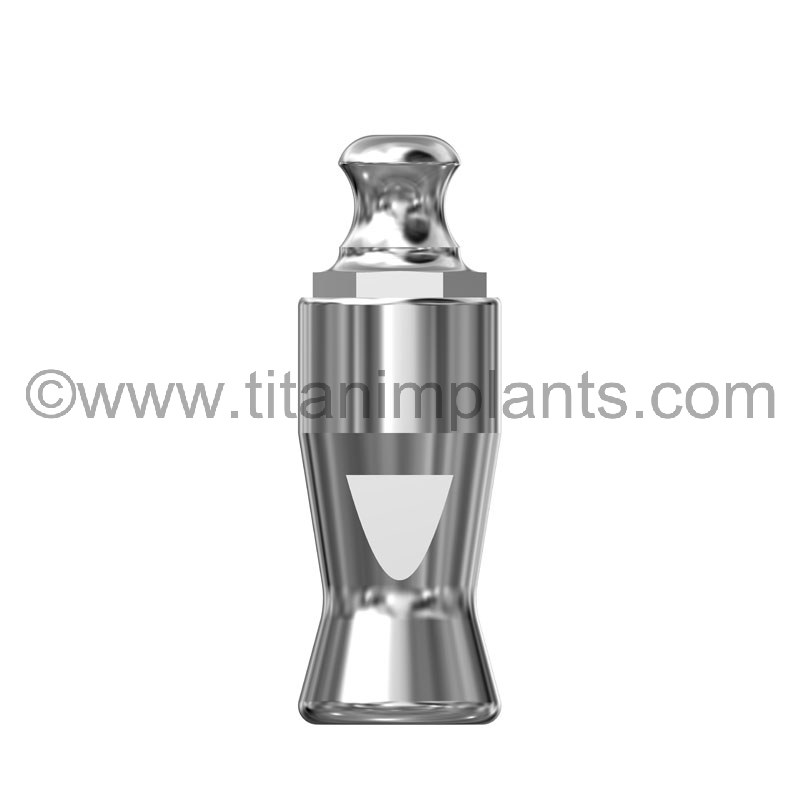
Standard Abutment Restorative Chain
The same completeness applies to the standard abutment platform: impression coping, lab analog, burnout sleeve and non-engaging bar post, all matched.
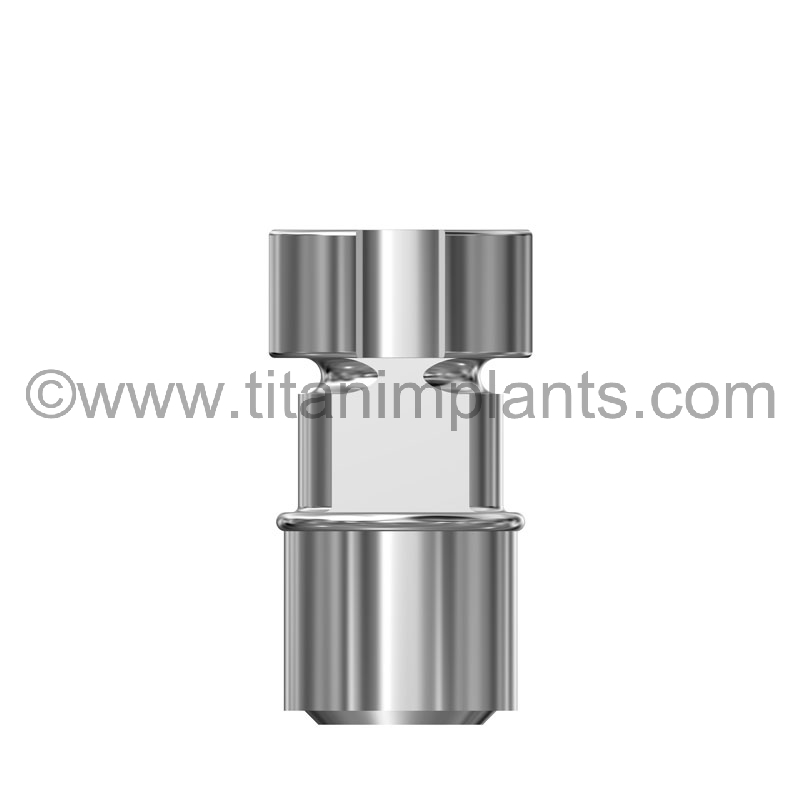 Standard Abutment Impression Coping4.1mm · T-4SAIC
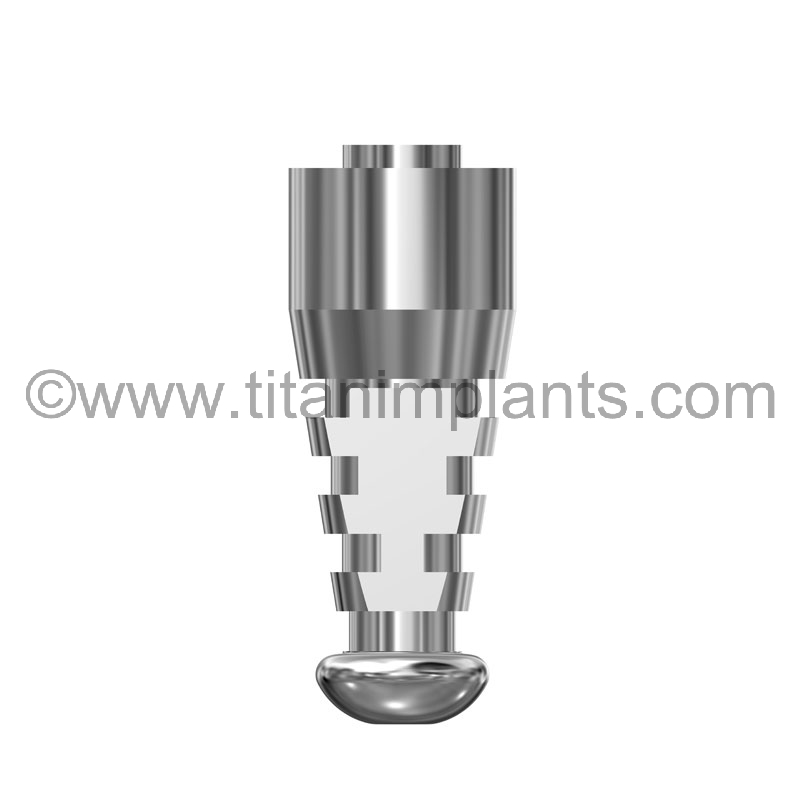 Standard Abutment Analog4.1mm · T-4SAA
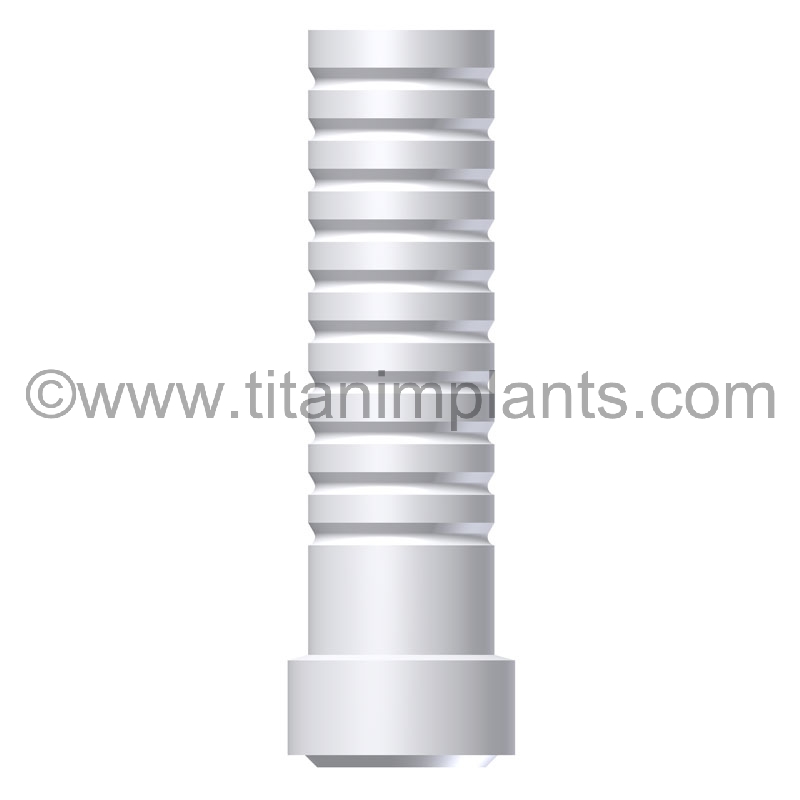 Standard Abutment UCLA Sleeve4.1mm · T-4SAPS
Instruments: the Locator Pin and One-Driver System
The Titan Implant Locator Pin threads into the implant by hand and holds the abutment or coping in parallel alignment while it is seated — particularly useful in posterior sites with limited visibility, and in the lab, where it lets a wax-up lift on and off the analog without shifting. Guide pins are stocked in 20, 22, 24 and 26mm lengths.
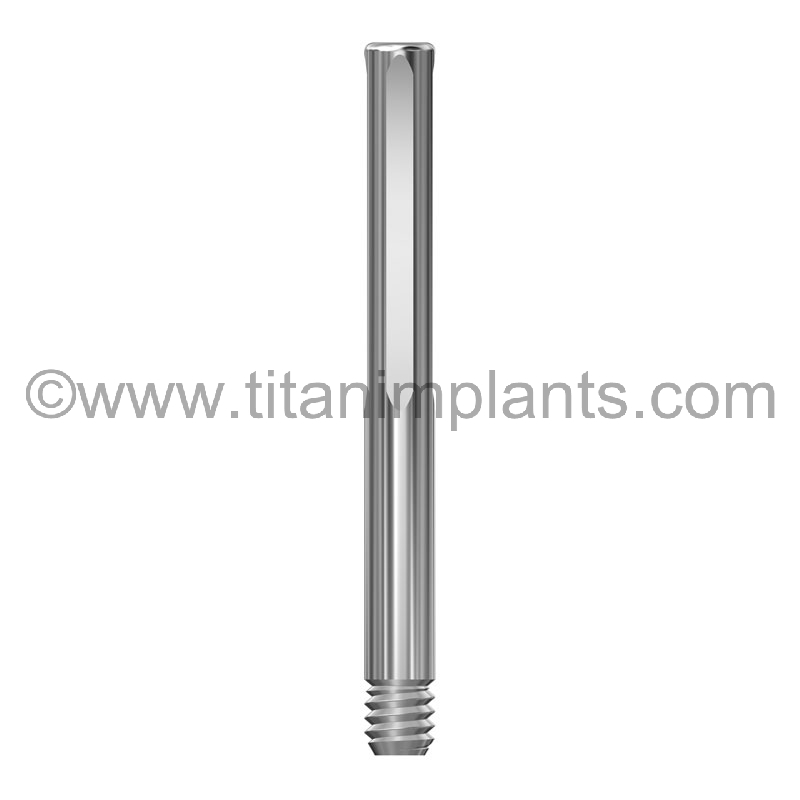 Titan Implant Locator PinAll platforms · M2-ILP-20
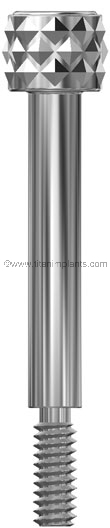 Guide Pin 22mmAll platforms · T-GPSS22
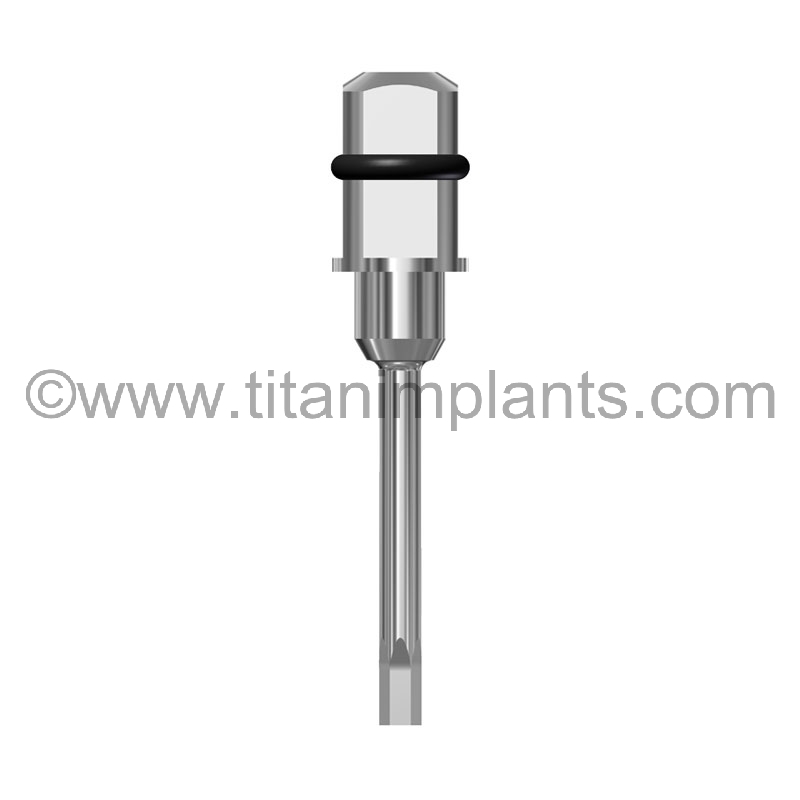 0.050″ (1.27mm) Hex DriverAll platforms · 50 HEX DRIVER
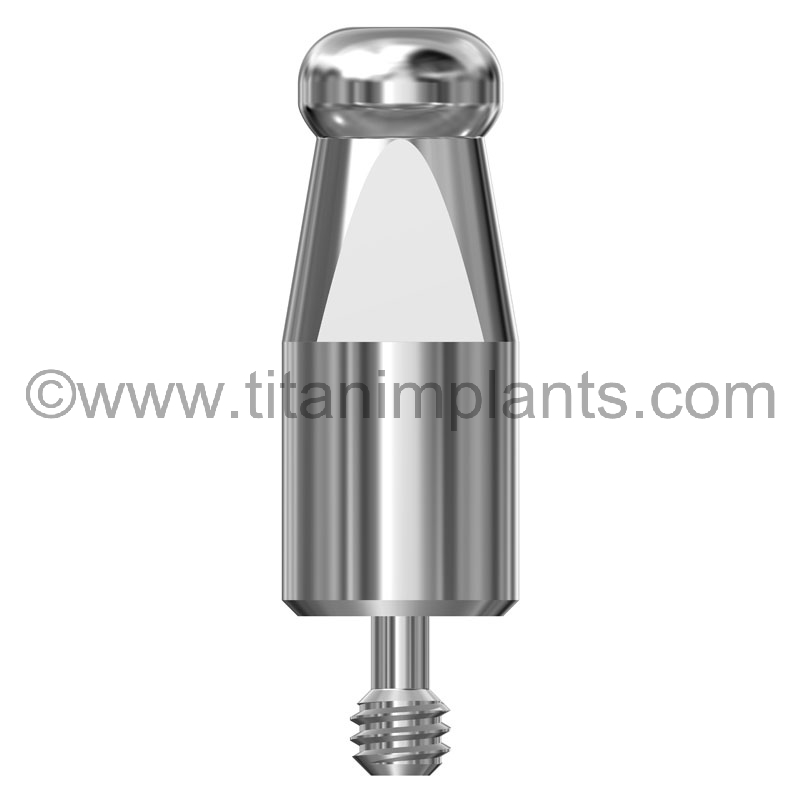 Non-Hexed One-Piece Impression Post4.1mm · TN-4OPIP
Across the external hex range Titan uses a single 0.050″ (1.27mm) hex driver. One driver on the tray, one driver in the lab, rather than a different interface for every component family.
Why the breadth matters.
Most compatible suppliers stock the fast-moving abutments and leave the analogs, copings and bar posts to someone else. That is how a case ends up assembled from three vendors with three tolerance standards. Titan machines the whole chain for each platform in Grade 23 ELI titanium (Ti-6Al-4V ELI, ASTM F136), FDA-cleared, in Bergenfield, New Jersey.
In-stock components ordered before 4:00 PM ET ship the same business day. Not sure which part fits? Call 1-201-439-0470.
Frequently Asked Questions
How do I identify the seating surface on a 3i external hex implant?
Seating surface is determined by implant body diameter: 3.25mm body = 3.4mm seating surface, 4.0mm = 4.1mm, 5.0mm = 5.0mm, 6.0mm = 6.0mm. For platform-switched implants (4/3, 5/4, 6/5), use the second number.
When do I use engaging vs. non-engaging components?
Engaging (hex) for single-unit restorations where anti-rotation is needed. Non-engaging for multi-unit or splinted frameworks where divergent implant angles prevent simultaneous hex engagement.
Is my “3i Osseotite” implant external hex or Certain?
“Osseotite” is a surface treatment used on both connections. A “3i Osseotite” implant is external hex; an “Osseotite Certain” is internal hex. Check the surgical record for “Certain” — if it doesn’t say Certain, it’s external hex.
Quick Reference
| Decision | Determined By | Key Rule |
|---|---|---|
| Seating Surface | Implant body diameter (from surgical record) | 3.4, 4.1, 5.0, or 6.0mm. Platform-switched implants: use the second number. |
| Abutment Type | Restoration design | SLIAF for cement-retained single units. Simple Step for preparable screw-retained. Post abutment for multi-unit. Castable for custom cast frameworks. |
| Profile & Collar | Tooth being replaced & tissue depth | Profile = cervical diameter of replaced tooth. Collar = tissue depth, shoulder at gingival margin. |
| Engaging vs Non | Single-unit vs multi-unit restoration | Single-unit = engaging. Splinted/multi-unit = non-engaging. |
Browse all 3i external hex compatible components in our Biomet 3i External Hex category. Questions? Call 1-201-439-0470.
Have the OEM part number? Call 1-201-439-0470 — we’ll cross-reference it to the Titan equivalent before you order.
Disclaimer: Biomet 3i®, T3®, Osseotite®, Nanotite®, and ZimVie® are registered trademarks of ZimVie Inc. and/or its affiliates. Titan Implants, Inc. is an independent manufacturer of compatible prosthetic components. This guide is for informational purposes and does not constitute clinical advice. Titan Implants is not sponsored by, affiliated with, or endorsed by ZimVie Inc.
More selection guides: Engaging vs. Non-Engaging · Abutment Sizing · Implant Locator Pin · One Driver Advantage · 3i Certain Guide · All Resources
|
Note: All pictures are not sized to scale. All prices are in USD. All prices and product availability subject to change without prior notice. Titan Implants® is a trademark of Titan Implants, Inc., | |||||
|
Branemark System®, MirusCone™ and EsthetiCone®, Sterioss®, Nobel Active®, and NobelReplace®, Tapered and Straight Groovy, Nobel Speedy®, Replace™, Replace Select™ Tapered and Straight, Sterioss™, HL Series, Flat Top, Replace™ External Hex, Unigrip, WP, and RP are registered trademarks of Nobel Biocare. 3i®, Biomet®, Biomet 3i™, Certain®, Miniplant®, NanoTite™, Osseotite®, Osseotite XP® and Prevail®, MicroMiniplant®, and Immediate Occlusal Loading® are trademarks of Biomet 3i, Inc. 3i TG® is a registered trademark of 3i Implant Innovations Inc. Frialit-2®, XIVE®, and Friadent® are registered trademarks of Dentsply Friadent Group. OTI Systems® is a registered trademark of Osteo- Implant Corporation. Micro-Lok® and Silhouette Laser-Lok® are registered trademarks of Bio-Lok International Inc. IMTEC®, Endure® and Universal® Implants are registered trademarks of Imtec 3M Corporation. Lifecore® is a registered trademark of Lifecore Biomedical Group. Lifecore®, RESTORE, SD, RD, WD, Renova®, SDI, WDI, Stage-1, RDS, and WDS are registered trademarks of Keystone Dental. Solid Abutment, SCS, and SynOcta® are registered trademarks of ITI-Straumann®. Screw-Vent®, Tapered Screw-Vent®, Spectra Cone®, Tapered Collar®, Advent®, Taper-Lock®, SwissPlus®, and Micro-Vent™, Bio-Vent®, Core-Vent®, Spectra Cone®,(The Spectra System®) are registered trademarks of Paragon Dental. Paragon®, Screw-Vent®, Tapered Screw-Vent®, Advent®, SwissPlus®, and Spline® Implants are registered trademarks of Zimmer Dental. One Stage®, and Endopore ® are registered trademarks of Innova Corporation. BioHorizons™ is a trademark of BioHorizons USA Implant Systems Inc. Sterioss, HL Series, Flat Top, Replace, Replace-Select, are registered trademarks of Nobel Biocare AB. IMZ® is a registered trademarks of FRIATEC systems. MicroThread™ and Conical Seal Design™ are registered trademarks of Astra-Tech Dental. Astra Tech Inc. is a registered trademark of DENTSPLY Implants. Bicon™ is a registered trademark of Bicon Dental Inc. INTEGRAL® and OMNILOC® are registered trademarks of Calcitek®. Spiralite® and Bonelock® Implants, Rootform® Flat Top Abutments and Hex-Top Abutments are registered trademarks of Swiss Implants Inc. Sterngold-ImplaMed® is a trademark of Sterngold Dental, LLC. American Dental Implant is a trademark of American Dental Implant Corporation. |
|||||
| Contact Us at : 1-201-439-0470 Or call us at : 201-439-0026 Customer service hours 8:30am - 5:00pm EST, Monday through Friday (Our clients are dentists and lab technicians. We do not work with patients.) |
|||||
We ship by  |
We Accept  |
| |||

Copyright 2026 Titan Implants, Inc. - All rights reserved.
